Taking a screen recording on Mac can be used for many purposes. Whether you are a gamer and want to film yourself destroying trees with your hands in Minecraft or you just need to show your grandmother how to send an email, screen recordings are a critical tool. But, most people have no idea how to do it.
Lucky for you, it is a very simple process, and it is built right into your Mac.
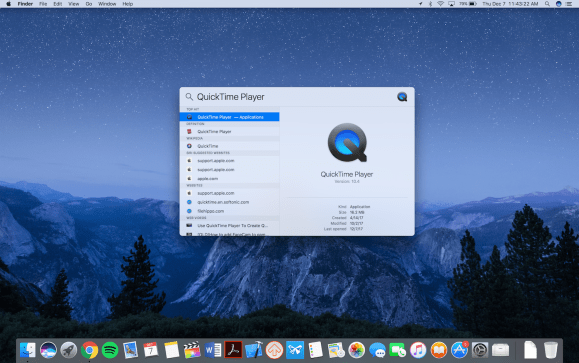
Step 1: Open QuickTime Player
This can be done through many methods:
- Type Command+Space, type “QuickTime Player”, press Enter
OR
- Open Finder (should be in the bottom left of your doc), click the Applications folder on the sidebar, then scroll to find QuickTime Player and double click the application
Step 2: Click “File” in the top bar
Step 3: Click “New Screen Recording”
Step 4: Click the big red button!
You have a few options:
- If you want to add your own voice as audio: Click on the downwards arrow and, under “Microphone,” click “Internal Microphone.” This will allow you to voice over anything that occurs in your screen recording using your Mac’s built-in microphone
- If not, leave it alone!
Step 5: Choose your window
- You can either click anywhere to record the entire screen
- Or, drag and highlight a certain box to record (do not worry about making the box perfect, you can adjust it after you highlight!!)
Step 6: End the recording
- Click the stop button in the top bar
Step 7: Save
There you go! You have your very own screen recording. Keep creating!


